

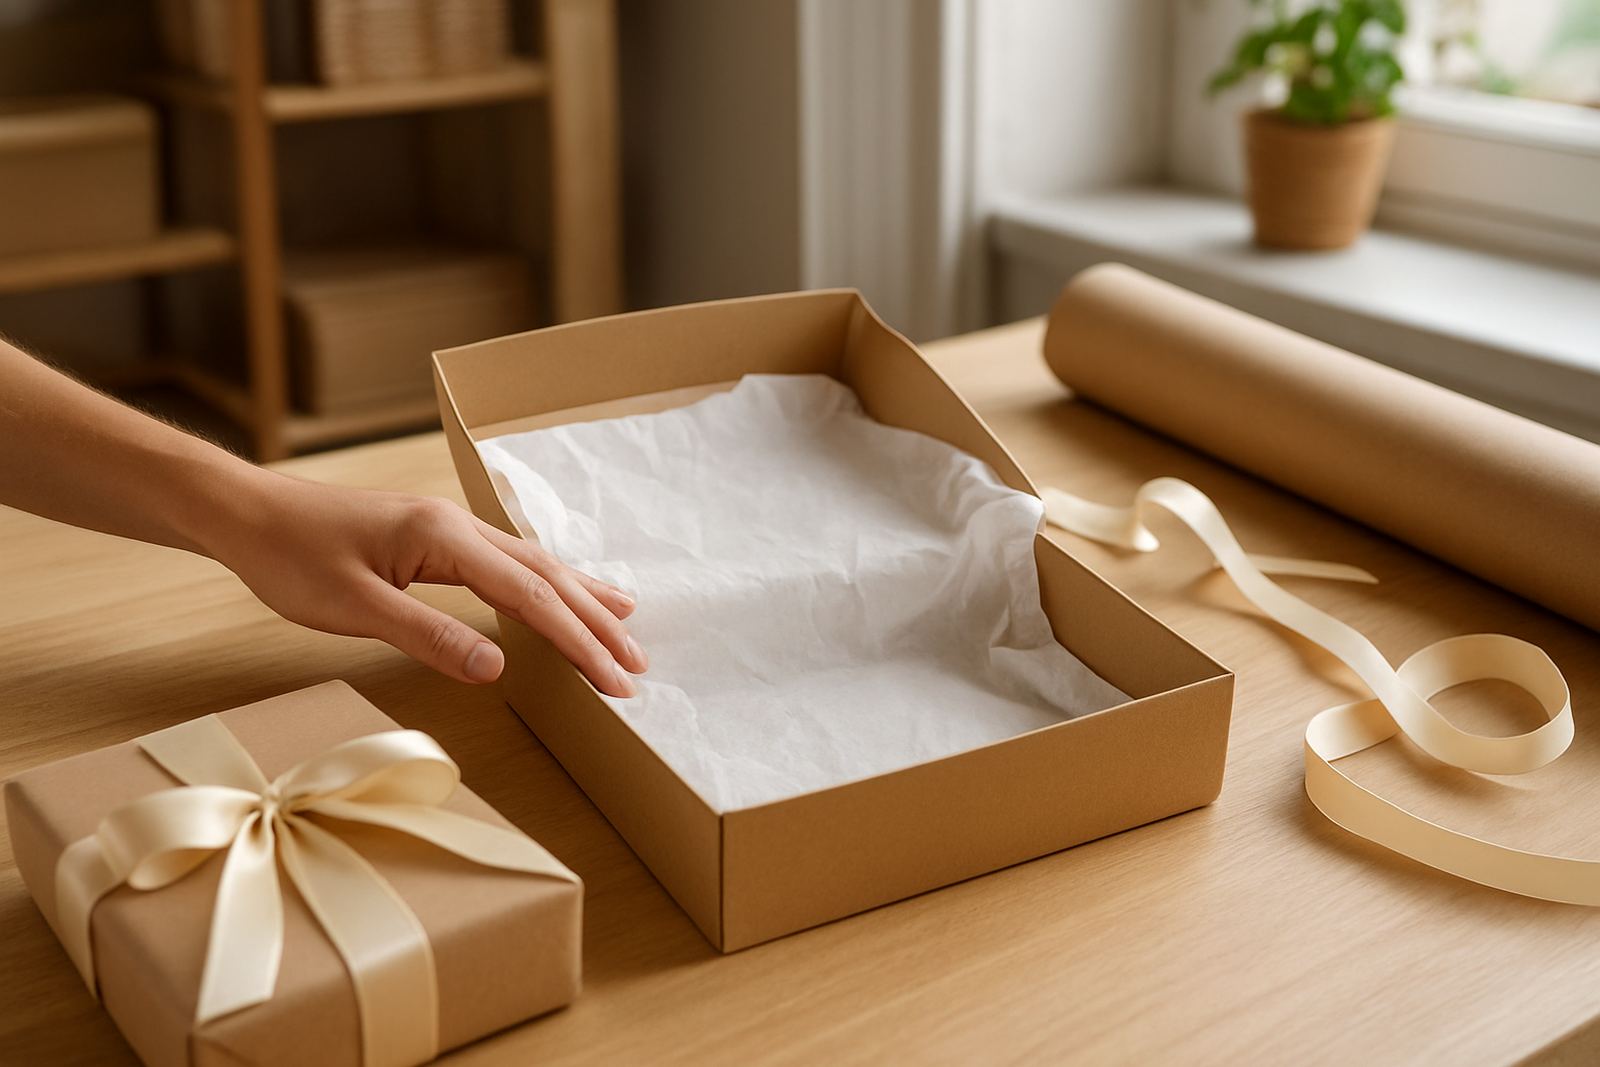
Why tissue paper matters in gift wrapping
Tissue paper does more than hide the contents of a box or bag. It helps stop items moving around, softens sharp edges, and gives a layered look that reads as polished rather than rushed. For clothing, cosmetics, stationery, glassware and small corporate gifts, tissue adds structure without making the package feel heavy.
In South African gifting, the practical side matters as much as the presentation. Coastal humidity in Durban can make some packaging feel limp, while summer heat in Johannesburg can flatten folds if the pack is left in a car. Tissue helps the gift hold its shape for longer, especially when you are preparing collections for weddings, client packs or festive hampers.
Choose the right tissue for the item inside
Start by matching the tissue to the contents. Light items need only one or two sheets, while fragile pieces need a fuller cushion around the corners and sides. If the gift is for a wedding favour or a premium corporate handover, choose tissue that suits the colour palette of the event and the ribbon or label being used.
- Use plain white or cream for a clean, classic finish.
- Use colour to echo a brand, season or wedding theme.
- For dark boxes, choose lighter tissue so the layers show clearly.
- For glass, ceramics or bottles, use extra sheets at the base and top.
- For scented items, keep the tissue dry and avoid over handling it.
If the item is irregularly shaped, test the tissue by wrapping once before folding everything neatly. That small check saves time when packing bulk orders and helps the final result stay tidy, not bulky.
Layer tissue paper step by step
The cleanest method is to build from the inside out. Place one sheet flat in the box or bag so it acts as a base. Then wrap the item with a second sheet if needed, tucking the corners under so the package stays closed. For a fuller presentation, add a final sheet on top and let it rise slightly above the opening.
When wrapping a hamper, crumple one or two sheets lightly and place them under the products to create height. This works well with mixed items because it stops smaller pieces from disappearing at the bottom. A neat fold at the top gives the gift a more finished look, and it is easier to pair with ribbon or a note card.
- Base sheet: protects the bottom of the pack.
- Middle layer: cushions the item and fills space.
- Top layer: creates softness and a tidy reveal.
- Corner folds: keep items from sliding during delivery.
- Final check: lift the pack gently to make sure nothing shifts.
For larger cartons or event packs, do a quick shake test before sealing. If the contents move, add one more sheet or fold the tissue tighter around the sides.
Keep hampers looking full without wasting material
A common mistake is using too little tissue, then over correcting with too much. The result can look uneven or messy. The aim is fullness with control. Tissue should support the gift and frame it, not hide it completely. In a corporate hamper, that balance matters because the contents still need to be visible when the lid opens.
Use the shape of the box to guide you. In square boxes, corners can be filled with lightly crumpled tissue to stop dead spaces. In bags, let the top edge of the tissue rise above the rim by 3 to 5 cm for a softer finish. If the pack is being delivered across town in traffic, keep the top layer secure so it does not shift en route.
When packing for a busy season, keep a set of pre cut tissue sizes on hand. This saves time and helps your team stay consistent across repeat orders. It also makes counting stock easier, especially when multiple orders are being prepared at once, and the studio is working fast.
Match tissue with ribbons, notes and gift packaging
Tissue paper should work with the rest of the presentation, not compete with it. If the ribbon is patterned, use a simpler tissue. If the gift note is bold, keep the tissue soft and neutral. The best packs feel intentional from the outside all the way through to the reveal.
Try these combinations:
- White tissue with satin ribbon for weddings and formal gifting.
- Muted colour tissue with printed note cards for corporate hampers.
- Layered cream tissue with a hand tied bow for boutique retail gifts.
- Seasonal colours for year end packs, farewell gifts or event bags.
If you are adding branded labels or ribbon personalisation, leave enough tissue visible so the brand details still stand out. Too many layers can flatten the look. Keep the finish light and controlled, then check the top line from above before handing it over.
Packing checklist for smooth delivery and collection
Good tissue use also helps with logistics. It makes it easier to stack packs, carry them safely, and hand them over without last minute fixing. That matters when gifts are moving between Sandton, Rosebank, Bryanston, Umhlanga or the Cape Town city side, where traffic and delivery timing can change quickly.
Use this quick checklist before collection or dispatch:
- Check that the tissue is dry and free from creases that look untidy.
- Confirm the item cannot move inside the box or bag.
- Make sure the top layer is neat and not too high for sealing.
- Keep delicate items padded at the base and sides.
- Match the tissue colour to the event brief or company colours.
- Use a final note card or tag only after the wrapping is complete.
For outdoor events or venue deliveries, seal the outer packaging properly so wind or moisture does not disturb the finish. If the gift is waiting in a car before handover, keep it out of direct sun. A small amount of planning here saves rework later, and the result looks much better when it is time to present the gift.