

Start With the Right Hamper Base And Fill
Before you place a single item, choose a container that suits the weight and shape of the gift. A shallow tray works for flat items and luxury treats, while a deeper basket or rigid box is better for bottles, mugs, candles and mixed goods. For corporate gifts in Sandton or Rosebank, a clean lined box often packs better for collections and courier movement. For weddings or home gifting, woven hampers or keepsake boxes can give a softer finish.
The inside of the hamper matters just as much as the outside. Use shredded paper, tissue, wood wool, folded kraft sheets or corrugated card to build height and stop items from shifting. If you are packing for delivery in summer heat or for coastal humidity in Durban and Umhlanga, avoid fillers that crease too easily or collapse when damp. Keep the base firm and level so the display does not sink after closing.
- Match the container to the item weight
- Use a firm base layer to stop movement
- Choose filler that holds shape in warm or damp conditions
- Keep the top edge clear for a clean finish
Arrange Heavy Pieces First And Build Upwards
Place the heaviest or widest items first, then build lighter pieces around them. Bottles, jars, tins and boxed foods should sit low and near the centre so the hamper stays balanced. If one side is too heavy, the whole arrangement can lean and crush the smaller items. When packing several units for corporate gifting, this step also makes stacking easier in the vehicle or storeroom.
Use taller items at the back and shorter items in front if the hamper will be viewed from one side. In a round basket, create a gentle dome shape instead. Keep labels facing outward where possible, but do not force every item into the same angle. A neat hamper should look considered, not overworked. Leave a little breathing room between products so the pack still feels generous.
- Heavy items go low and central
- Tall items go to the back or centre point
- Short items fill the front and outer edges
- Leave small gaps for ribbons and note cards
Protect Fragile Items Without Hiding Them
Glass jars, bottles, ornaments and delicate containers need support on all sides. Wrap each fragile item in tissue, bubble wrap or a soft insert before placing it in the hamper. If you are including a bottle, secure the neck with a tie or wrap strip and keep the base anchored in filler. For items that can scratch one another, separate them with card dividers or folded paper.
The goal is to protect the contents without making the hamper look padded or bulky. If the item is meant to be part of the display, leave the top or label visible by wrapping only the lower section. That way the receiver can still see what they are getting, while the item stays protected during delivery. For collections going across Johannesburg or to the airport area, this extra support is worth the time.
- Wrap fragile items before placing them inside
- Anchor bottles and jars at the base
- Use separators for items that might scratch
- Keep the visible part of the product clean and tidy
Create A Balanced Look With Colour And Height
Good hamper packing is part structure, part styling. Choose one colour family for the fillers, ribbon and note card, then repeat it throughout the hamper. Neutral kraft, white and black work well for corporate gifts, while soft blush, gold or deep green suit wedding favours and celebration hampers. Do not overcrowd the colour palette or the hamper can look noisy.
Height adds interest, but it should be controlled. Stack lighter boxes on top of sturdier ones if needed, or place a folded fabric item behind a compact product to create lift. Keep the highest point at the back or in the centre so the front line stays open and neat. If the hamper is travelling to Cape Town through the afternoon traffic or sitting in a studio until handover, this balanced shape will hold better.
Small inconsistencies can actually make the hamper feel hand finished. A ribbon loop slightly off centre or a note tucked at a slight angle can look natural, as long as the overall layout is tidy.
Finish With Wrapping, Ribbon And A Clear Message
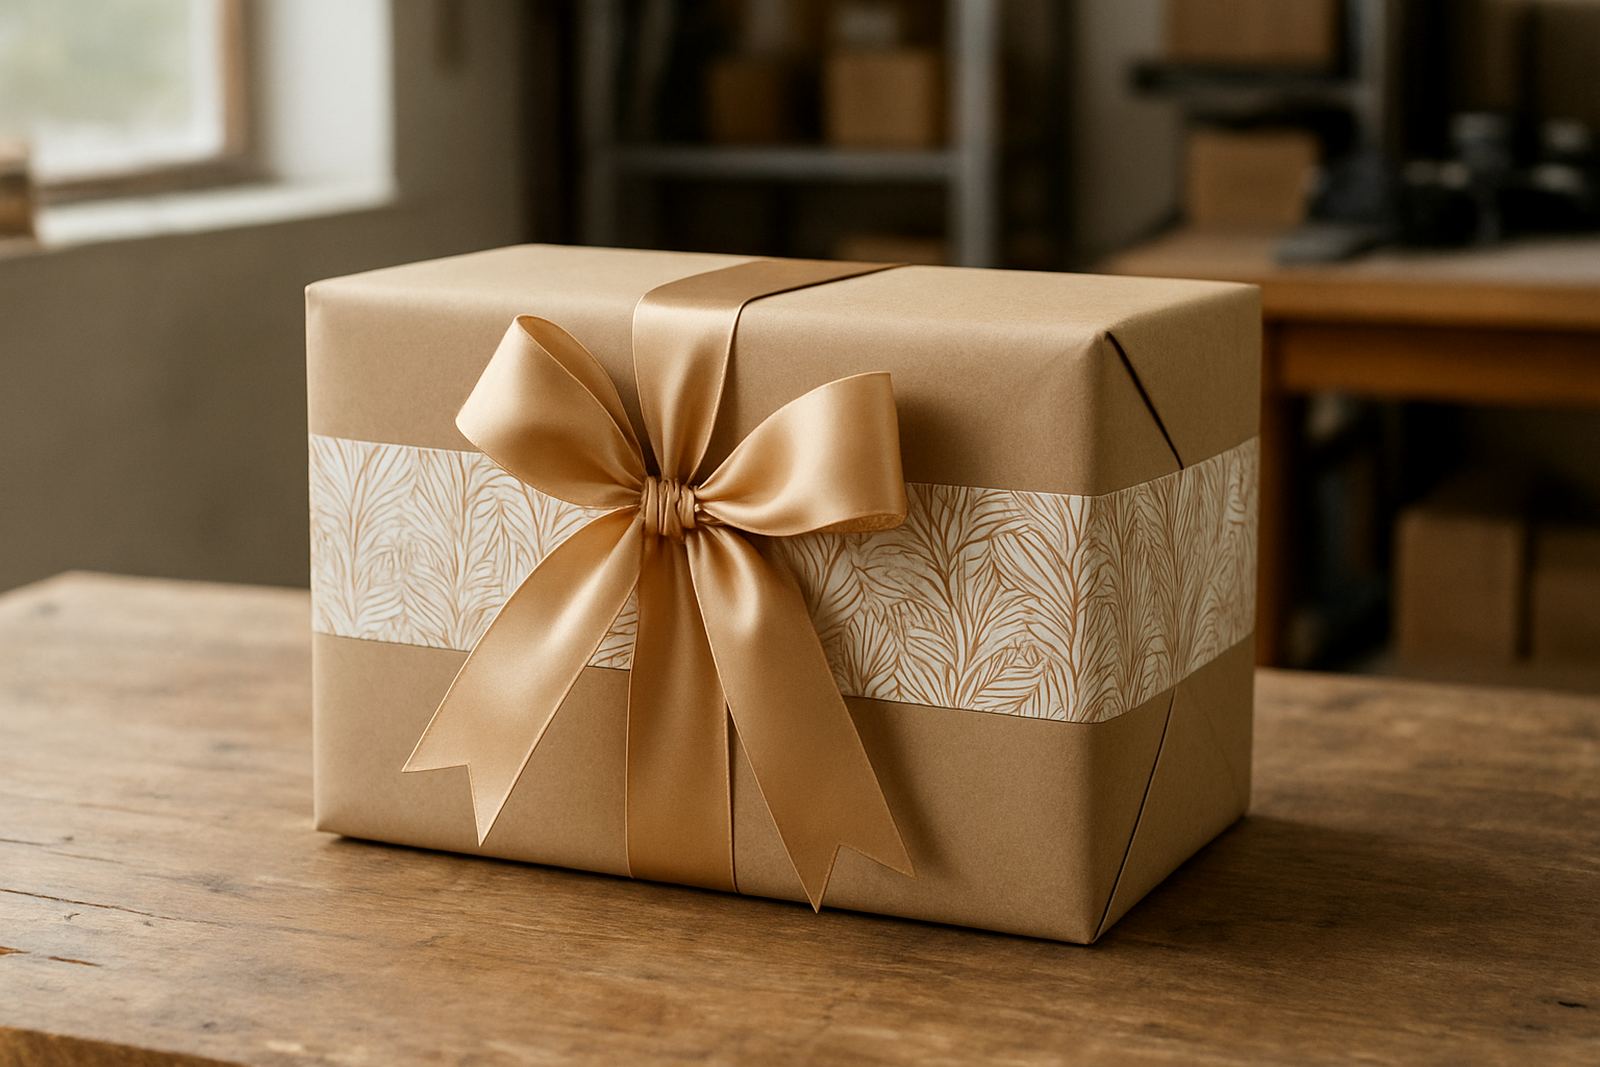
Once the contents are in place, check the top line of the hamper before closing it. Adjust any item that sits too high or leans into the wrapping. If you are using clear wrap, pull it smooth and avoid deep creases across the front. For open baskets, a tied ribbon or fabric wrap can be enough to hold the contents while keeping the display visible.
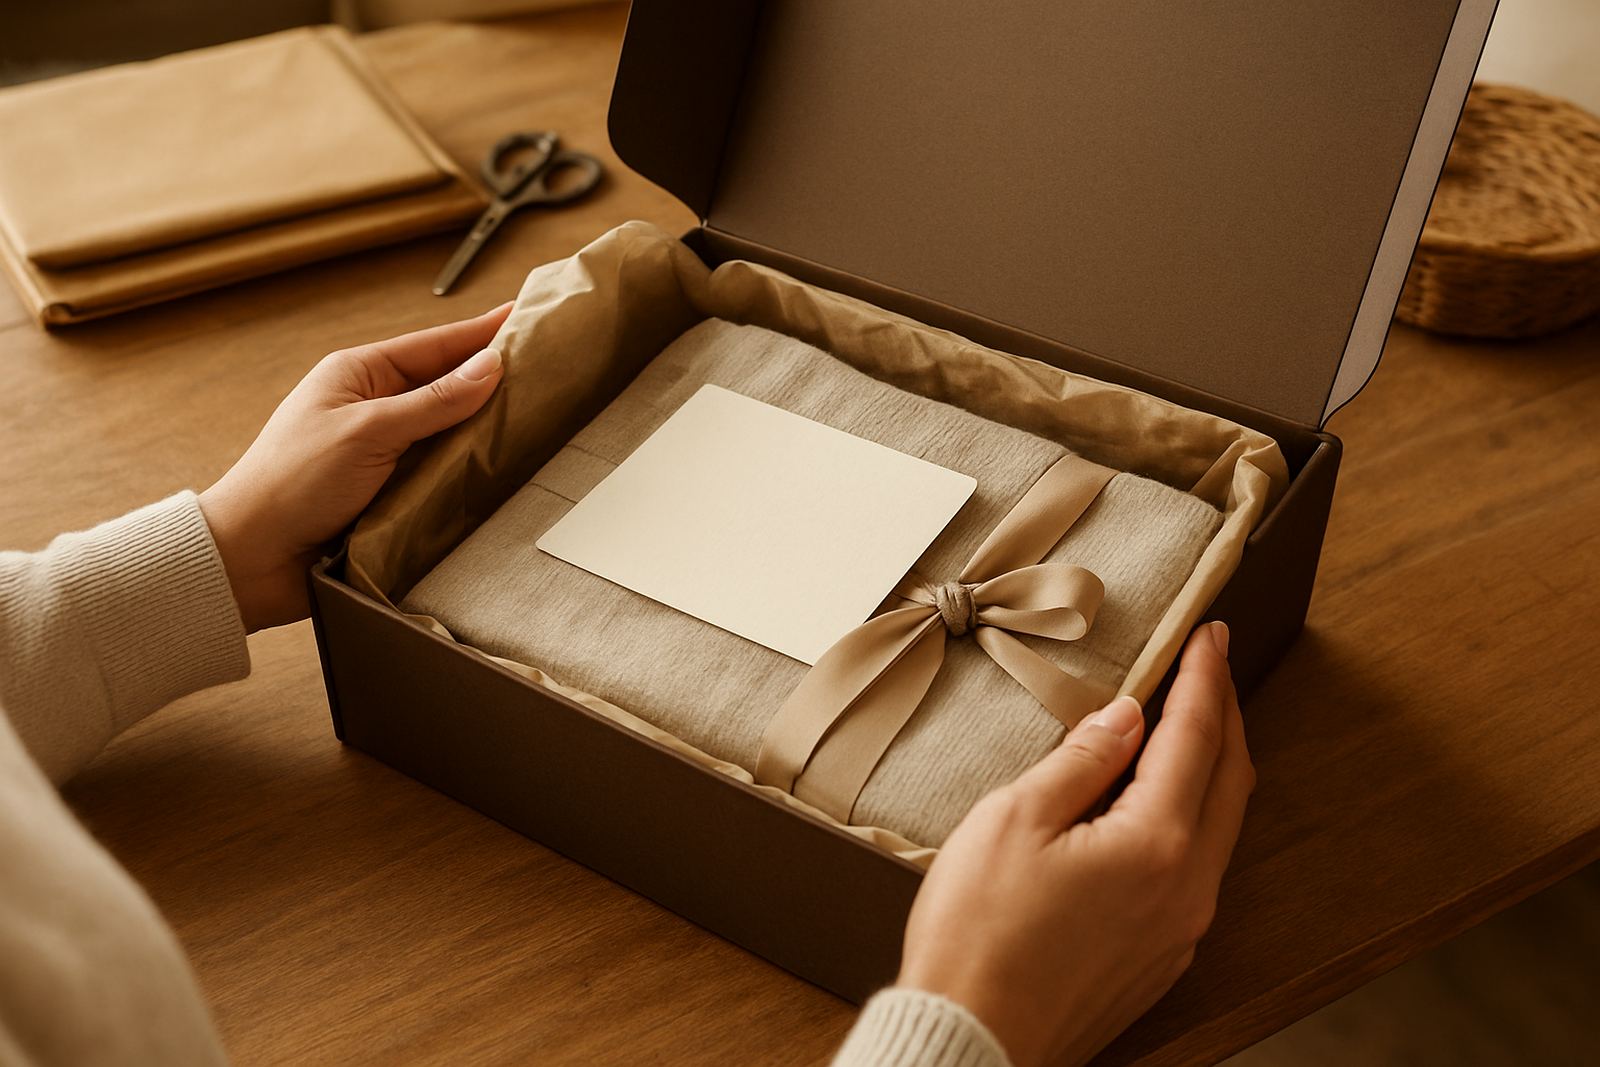
Add a note card last so it does not bend during packing. Keep the wording short and readable. For corporate gifting, include the company name or event title if required. For weddings, a simple thank you message is often enough. If the hamper is being delivered after load-shedding hours or collected later in the day, make sure the finish still reads clearly in natural light.
- Check that nothing pokes through the wrap
- Keep ribbon knots firm but not tight enough to crush the contents
- Place the gift note where it can be seen immediately
- Wipe fingerprints off jars, tins and lids before handover
Packing Checklist For Home, Events And Bulk Orders
A quick checklist helps you stay consistent, whether you are packing one hamper or fifty. For homes, this means a prettier result with less rework. For event gifting and corporate packs, it saves time and reduces breakage. In busy weeks, especially around holidays or year end in Sandton and Bryanston, having a set packing order keeps the process moving.
Use this basic list before sealing the hamper:
- Container chosen for the size and weight of the contents
- Base filler added and levelled
- Heavy items placed first
- Fragile items wrapped and supported
- Labels facing out where possible
- Ribbon, wrap or lid secured
- Gift note added and checked
- Final wobble test done before delivery
If the hamper shifts when lifted, reopen it and adjust the base. A few extra minutes at this stage can save a damaged gift later on.
When To Get Help With Larger Hamper Runs
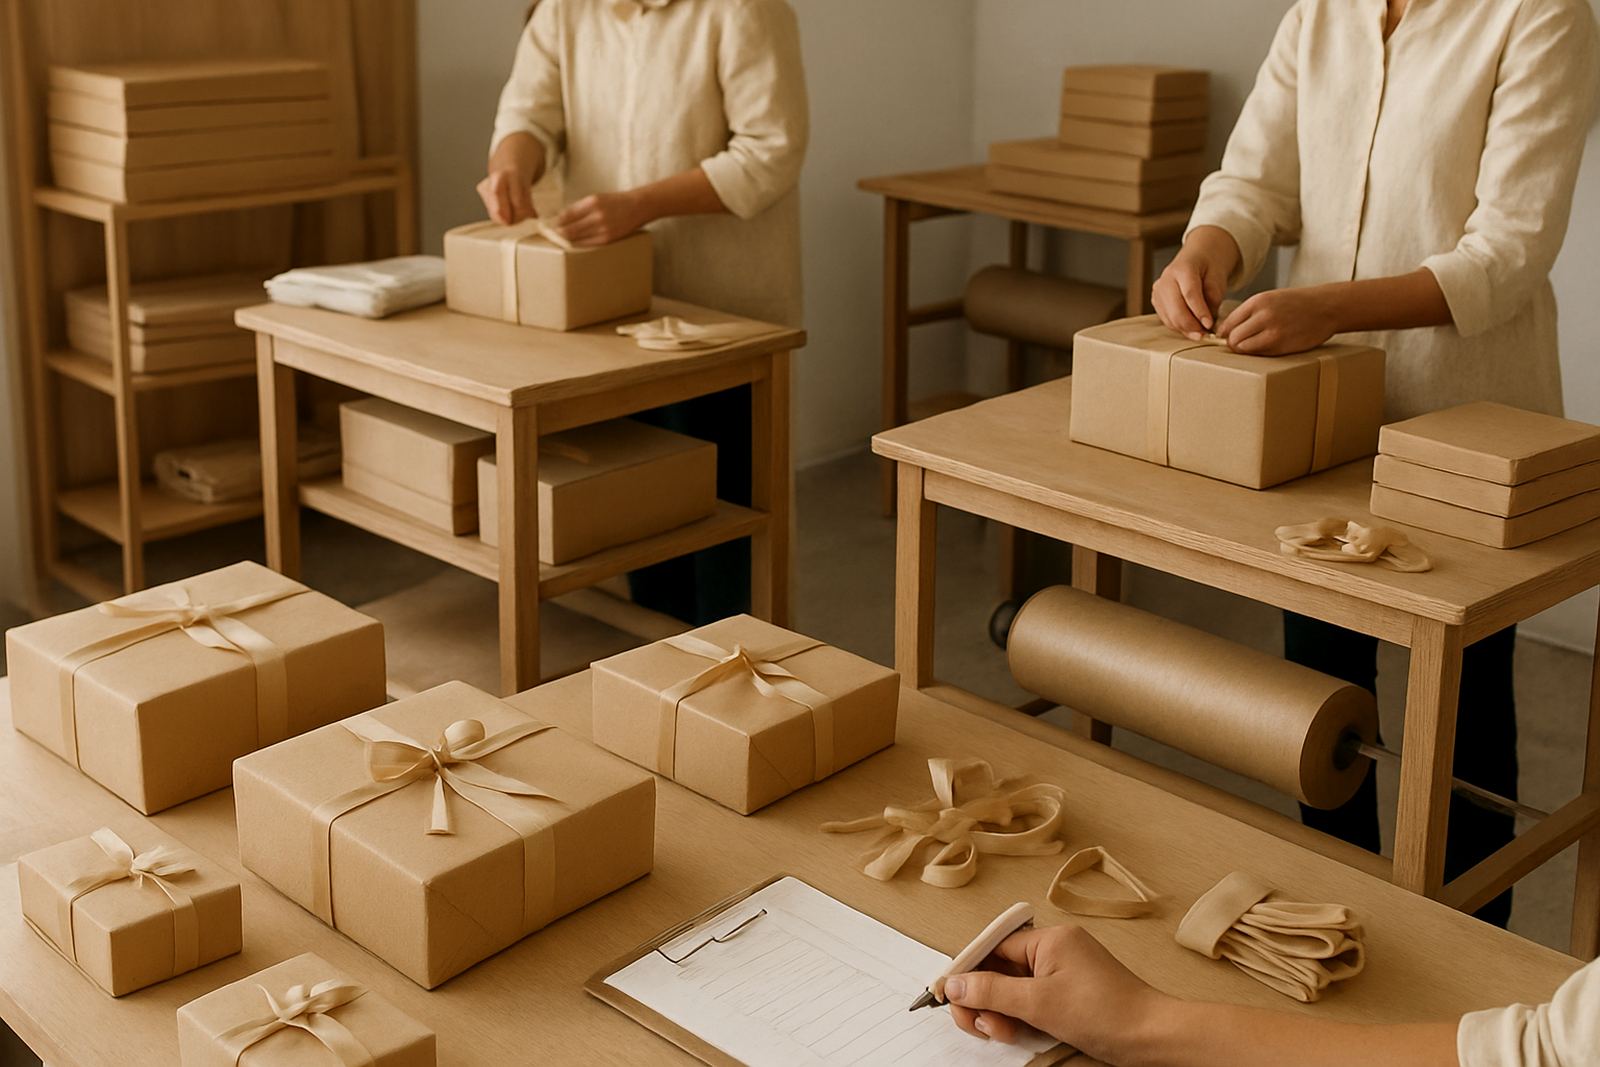
Some hampers are simple to pack at home. Others need more planning, especially when you are styling for weddings, staff gifts, client drops or seasonal campaigns. Large orders often need matching notes, repeated layouts, careful packing by address and a clean handover process. If you are coordinating deliveries to multiple areas, such as Sandton, Cape Town, Durban or Umhlanga, it helps to work from a set packing plan rather than handling each one differently.
For assistance with hamper curation, ribbon personalisation, event gifting setup or bulk order packing, Bling Wraps can help keep the contents secure and the presentation polished. The aim is simple, a hamper that arrives tidy, holds its shape and feels considered from the first look.