
Set Up A Flat Work Area Before You Start
Use a clean table or counter with enough room for the box, paper, tape and scissors. If you are wrapping at home in Sandton, Cape Town or Durban, keep the area dry and out of direct sun because humidity can make paper curl and tape lose grip. For large orders, line boxes up by size first so you do not keep stopping to measure each one again.
Before you begin, check that the box is closed properly and that any loose lid corners are taped down inside. A smooth box is easier to wrap and gives better edges. If the box is fragile, add a layer of tissue or shredded filler inside so the contents do not shift while you are working.
- Clean, level surface
- Sharp scissors
- Clear tape or double sided tape
- Gift paper with enough extra length
- Ribbon or label if needed
Measure The Paper With Enough Overlap
Place the box in the middle of the paper and pull the paper up and over each side to see how much you need. The paper should cover the box with a small overlap, but not so much that you end up with bulky folds. A good rule is to allow 2 to 4 cm extra on each side for a standard gift box, and a little more for deeper boxes or hamper trays.
Cut the paper cleanly and keep the cut edge straight. If the paper has a printed pattern, check that the design sits square before you commit to the cut. It is easier to trim once than to fight with a crooked edge later.
- Check the pattern alignment first
- Leave 2 to 4 cm extra for overlap
- Trim in one straight cut
- Keep the paper face down on the table
Fold The Long Sides Tight And Even
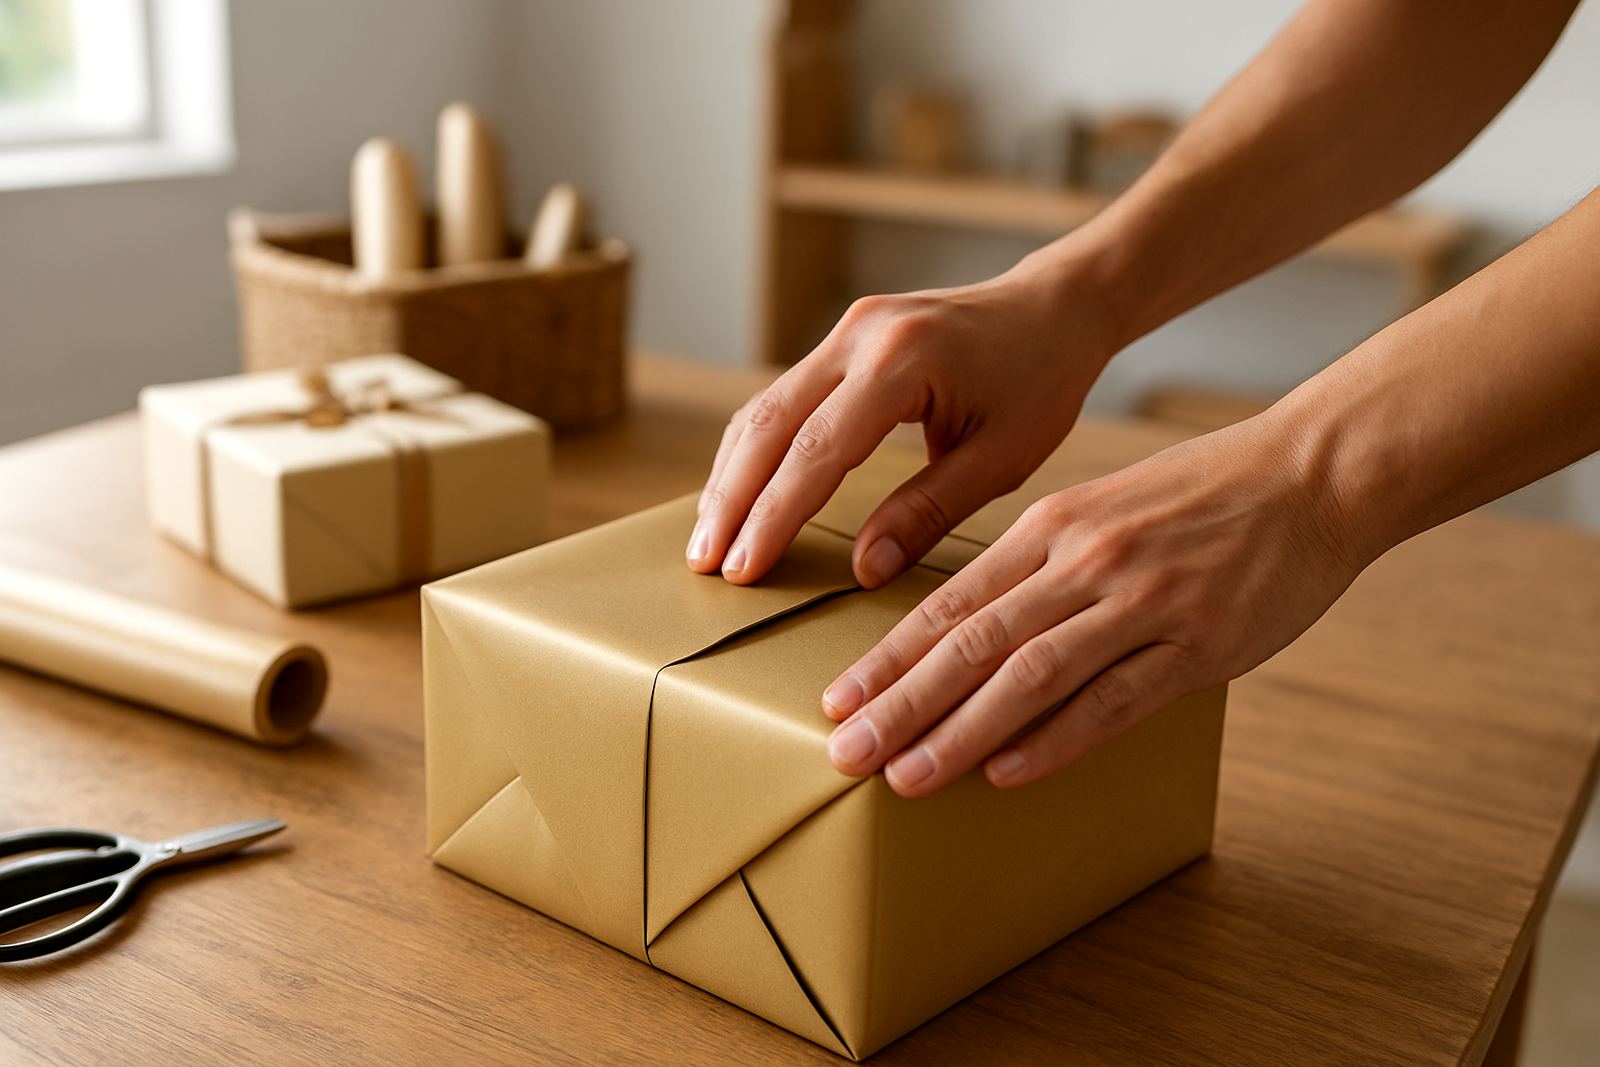
Bring one long side of the paper over the box and hold it flat with one hand. Pull the opposite side over until it overlaps by about 1 to 2 cm, then tape it in place. Keep the paper snug but not stretched. If you pull too hard, the corners can pucker when you fold the ends.
Work from the centre outwards and press the paper down with your palm as you go. This helps remove air pockets and keeps the wrap neat. For heavier boxes, use small strips of tape instead of one long piece so the paper sits flatter.
- Hold paper flat before taping
- Use small tape pieces for better control
- Press from the centre outward
- Avoid pulling the paper too tight
Shape The End Flaps Into Clean Triangles
This is where a tidy wrap really shows. Push the paper down on each open end so the top and bottom edges form two neat diagonal lines. Fold the top flap down first, then fold the bottom flap up. The side flaps should meet in the middle to create a point or triangle shape.
Use your fingers to sharpen the crease before taping. A firm crease gives the box that crisp, premium look rather than a soft, baggy finish. If one side looks too long, trim only a little at a time. It is better to make two small adjustments than one big cut that leaves the corner exposed.
- Fold the top flap first
- Crease each fold firmly
- Trim only when needed
- Keep the side flaps balanced
Tuck The Corners So They Sit Flat
For crisp corners, pinch the side edges before you fold them in. This helps the paper settle into the shape of the box instead of bunching up near the corners. If the box is thick or the lid sits high, make a tiny diagonal snip at the corner only if necessary. Do not cut too far or the base will show through.
Once folded, press the corner down with your thumb and tape it on the underside where it cannot be seen. If you are wrapping a gift for a wedding or corporate function, neat hidden tape matters because the finished pack must look presentable from every angle.
- Pinch before folding the corner
- Make small snips only if the box needs them
- Hide tape underneath
- Check every corner before moving on
Finish With Ribbon, Note Or Label
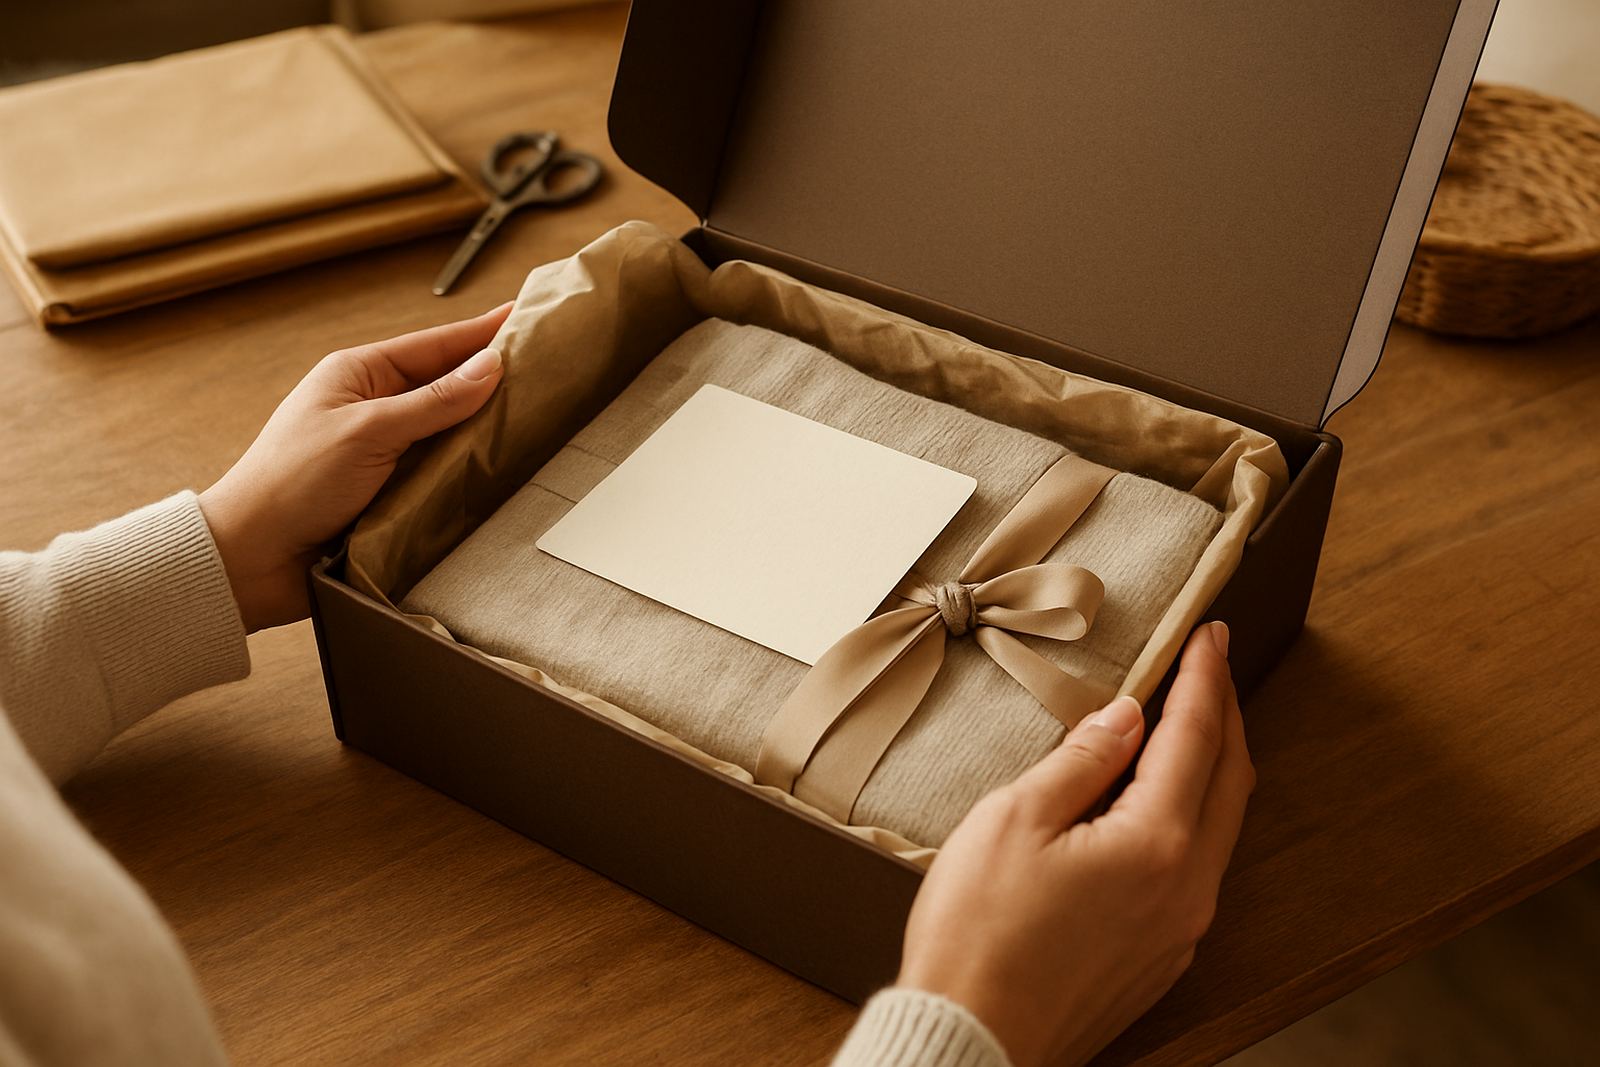
A box wrap looks more complete when the finish matches the occasion. A single ribbon band works well for birthdays and personal gifts, while double ribbon or printed ribbon suits corporate gifting and wedding favours. Keep the bow centred unless the box design calls for a side placement.
Add a note card or label after the ribbon so you do not mark the paper with extra tape. If you are packing several boxes for a client or event, sort them by recipient first and then attach notes last. That saves time and helps avoid mix ups, especially when there are names with similar spelling.
- Choose ribbon width that suits the box size
- Centre the bow for a balanced look
- Attach note cards after the wrap is complete
- Group similar boxes before labelling
Quick Quality Check Before You Hand It Over
Stand the box up and look at it from the front, the sides and the top. Check for loose tape, visible folds, wrinkled paper and corners that lift when you move the box. If the wrap needs a touch up, fix it straight away rather than trying to hide it under extra ribbon.
For bulk gifting, use this simple check before collection or delivery coordination: corners flat, seams straight, notes attached, ribbon secure and no smudges on the paper. A few minutes spent checking now can save a client embarrassment later. In our line of work, small details make all the differnce.
- Corners flat and even
- Seams hidden
- Ribbon secure
- Note attached correctly
- No marks or crushed edges