

Choose the Right Wax Seal Finish for the Job
Start by matching the seal to the item you are finishing. A small round seal suits invitation envelopes and favour tags, while a larger seal can anchor a ribbon knot on a gift box or hamper lid. If the paper is textured or the card is very light, keep the seal size modest so it does not overpower the piece.
For events in Sandton, Rosebank or Bryanston, clients often ask for a cleaner formal look, while Cape Town and Durban orders tend to suit softer tones that work with coastal light and humidity. The trick is to keep the seal colour, ribbon and paper in the same family. A gold seal on cream paper with ivory ribbon reads differently to the same seal on black stock, so test before you commit.
- Use a small seal for invitation envelopes, place cards and favour tags.
- Use a medium seal for ribbon wraps on boxes and hampers.
- Keep busy printed paper in check by using a single colour seal.
- Choose heavier card if the seal must sit on a hanging tag.
Prepare the Surface Before You Seal
Good prep matters. Wax needs a clean, dry surface, especially in damp weather or when parcels are moving through courier runs between Sandton, Durban and Cape Town. If the paper has dust, lint or too much texture, the seal can lift or look uneven. Wipe the area lightly, then let it dry fully before you apply the wax.
For ribboned gifts, flatten the ribbon knot first so the seal sits squarely in the centre. On envelopes, close the flap neatly and press it down for a few seconds before sealing. On tags, punch the hole cleanly and leave enough room below the hole so the seal does not crack the card when it hangs.
- Keep a soft cloth nearby to remove dust.
- Check that ribbon is not twisted under the seal point.
- Leave enough space around the seal for names or date printing.
- Work on a flat table so the wax spreads evenly.
Apply Wax Neatly Without Making a Mess
Wax seals look best when the pour is controlled. Use just enough wax to create a full circle without spreading too far beyond the edge of the stamp. Press the stamp firmly and keep it still until the wax has set. If you lift too soon, the detail blurs and the finish loses its sharpness.
When sealing several items for a wedding or corporate send-out, work in batches of 10 to 20 so the wax remains consistent. That makes it easier to keep the size and pressure the same. It also helps with bulk orders where every invitation or hamper label must match. A little variation is normal, but the seal should still look intentional, not rushed.
- Warm the wax before use so it flows smoothly.
- Press once and hold, do not rock the stamp.
- Allow each seal to cool before packing or stacking.
- Keep spare tags nearby in case one seal goes crooked.
Match Wax Seals with Ribbons, Tags and Wraps
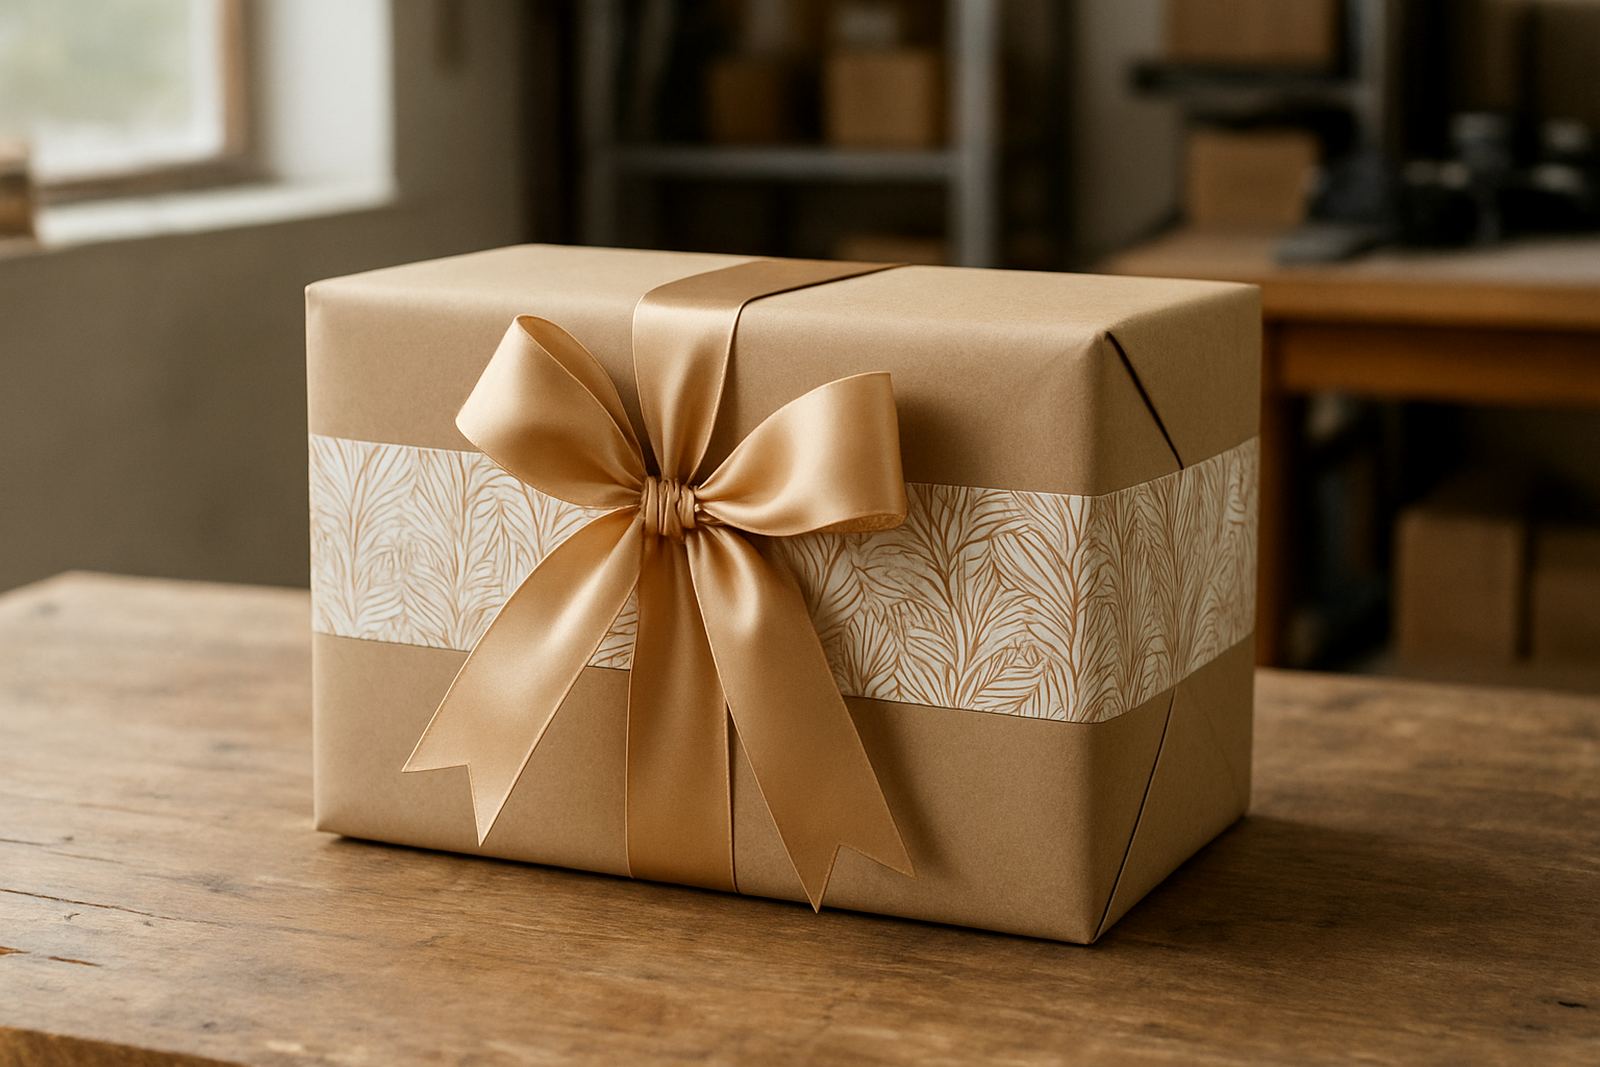
The seal should tie the whole gift together. On wrapping paper, it works well over a narrow ribbon band or at the point where twine closes the parcel. On favour bags, a wax seal can fasten a tag and turn a simple pack into something more finished. For corporate gifting, it is often best to keep the rest of the styling quiet so the seal remains the focal point.
Think about the full colour story. Ivory wrap with deep green ribbon and a bronze seal feels formal and warm. Kraft paper with natural twine and a dark seal feels more relaxed and earthy. Bright wrap can still take a seal, but the finish works better if the rest of the styling is kept simple. Too many finishes together can make the pack look cluttered.
- Use one seal colour across the full order for consistency.
- Keep patterned paper paired with plain ribbon.
- Choose metallic wax for weddings and client gifts.
- Use matte wax for understated event packs.
Plan for Weddings, Corporate Orders and Seasonal Runs
Wax seals are worth planning early, especially if you have large guest lists or a corporate send-out. For weddings, build in time for invitation assembly, RSVP envelopes, favour tags and seating items. For corporate gifting, the seal may need to carry a monogram, event initials or a simple motif that matches the brand language. Seasonal orders need even more lead time because the same team may be packing gifts, wrapping hampers and writing notes at the same time.
In South Africa, load-shedding can interrupt a tight production schedule, so it helps to prepare everything in stages. Print, cut, punch, fold and sort before the sealing stage. That way you can continue with the next step even if power goes out for a while. It saves time and keeps the finish uniform, which matters when the order is going out to multiple recipients.
- Confirm quantities before wax seals are ordered or mixed.
- Allow extra pieces for test seals and handling damage.
- Group items by size, colour and recipient type.
- Plan a buffer for courier collection or event setup.
Quick Checklist Before You Pack or Deliver
Before anything leaves the studio or gifting point, check the seal from a few angles. The edges should be clean, the stamp detail should be clear and the wax should be fully set. If the seal is on a ribbon, tug the ribbon lightly to make sure it will hold during transit. If it is on an envelope or tag, check that the weight will not pull the seal loose.
For deliveries around Sandton and wider Gauteng, this final check is usually quick. For Cape Town or Durban gifting points, it is even more important because heat and humidity can affect soft wax if it is packed too soon. Give it time, then box it carefully so the seal does not rub against the wrap.
- Seal detail is clear and centred.
- Wax is fully cooled before packing.
- Ribbon, tag or envelope is secure.
- Colours match the agreed finish.
- No fingerprints or loose crumbs are left on the pack.