
Start With the Shape Before You Cut Paper
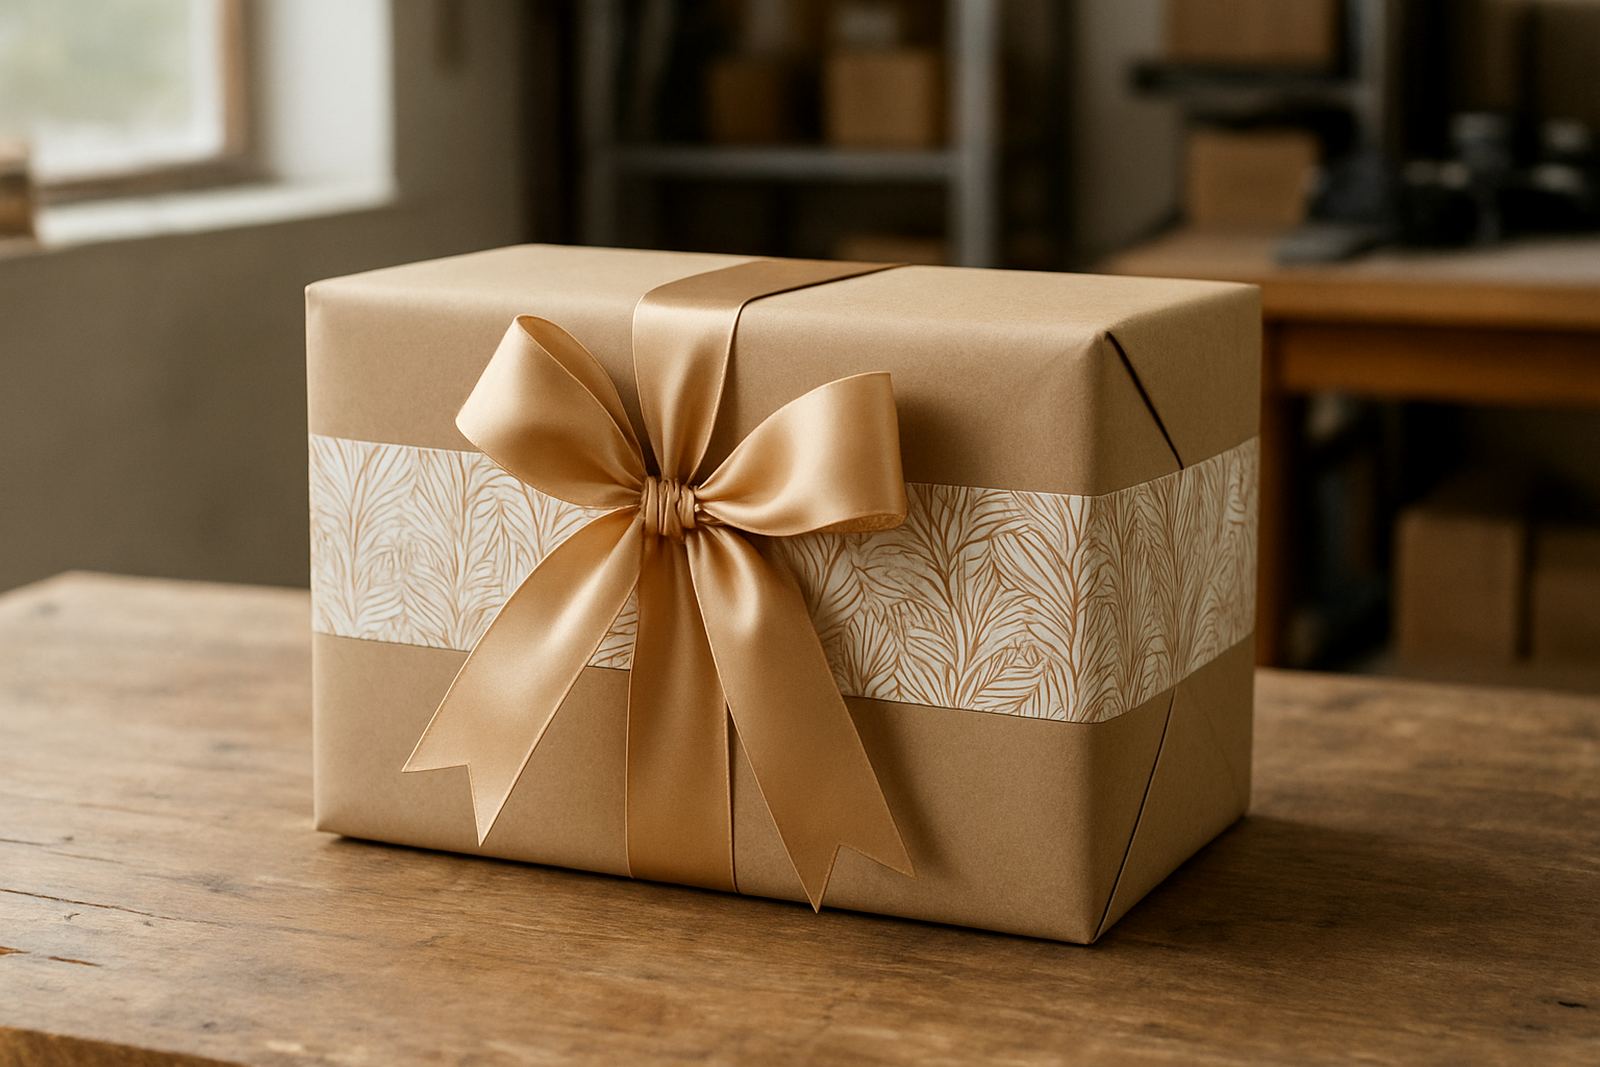
Before you open the tape, look at the item from top to bottom and decide where the neatest seam will sit. A candle, bottle or mug usually has one side that can carry the join, and that makes the final result look cleaner. If the gift is very tall, measure the full height plus at least 6 cm on top and bottom so you do not come up short halfway through.
For most awkward items, a thicker wrap paper works better than thin decorative paper because it tears less when pulled around corners. If you are wrapping for a wedding table, corporate handover or a delivery going out in humid weather, keep the paper flat and the room cool before you begin. Sticky fingers and soft paper do not mix well.
Wrap Bottles Without Bulk at the Neck
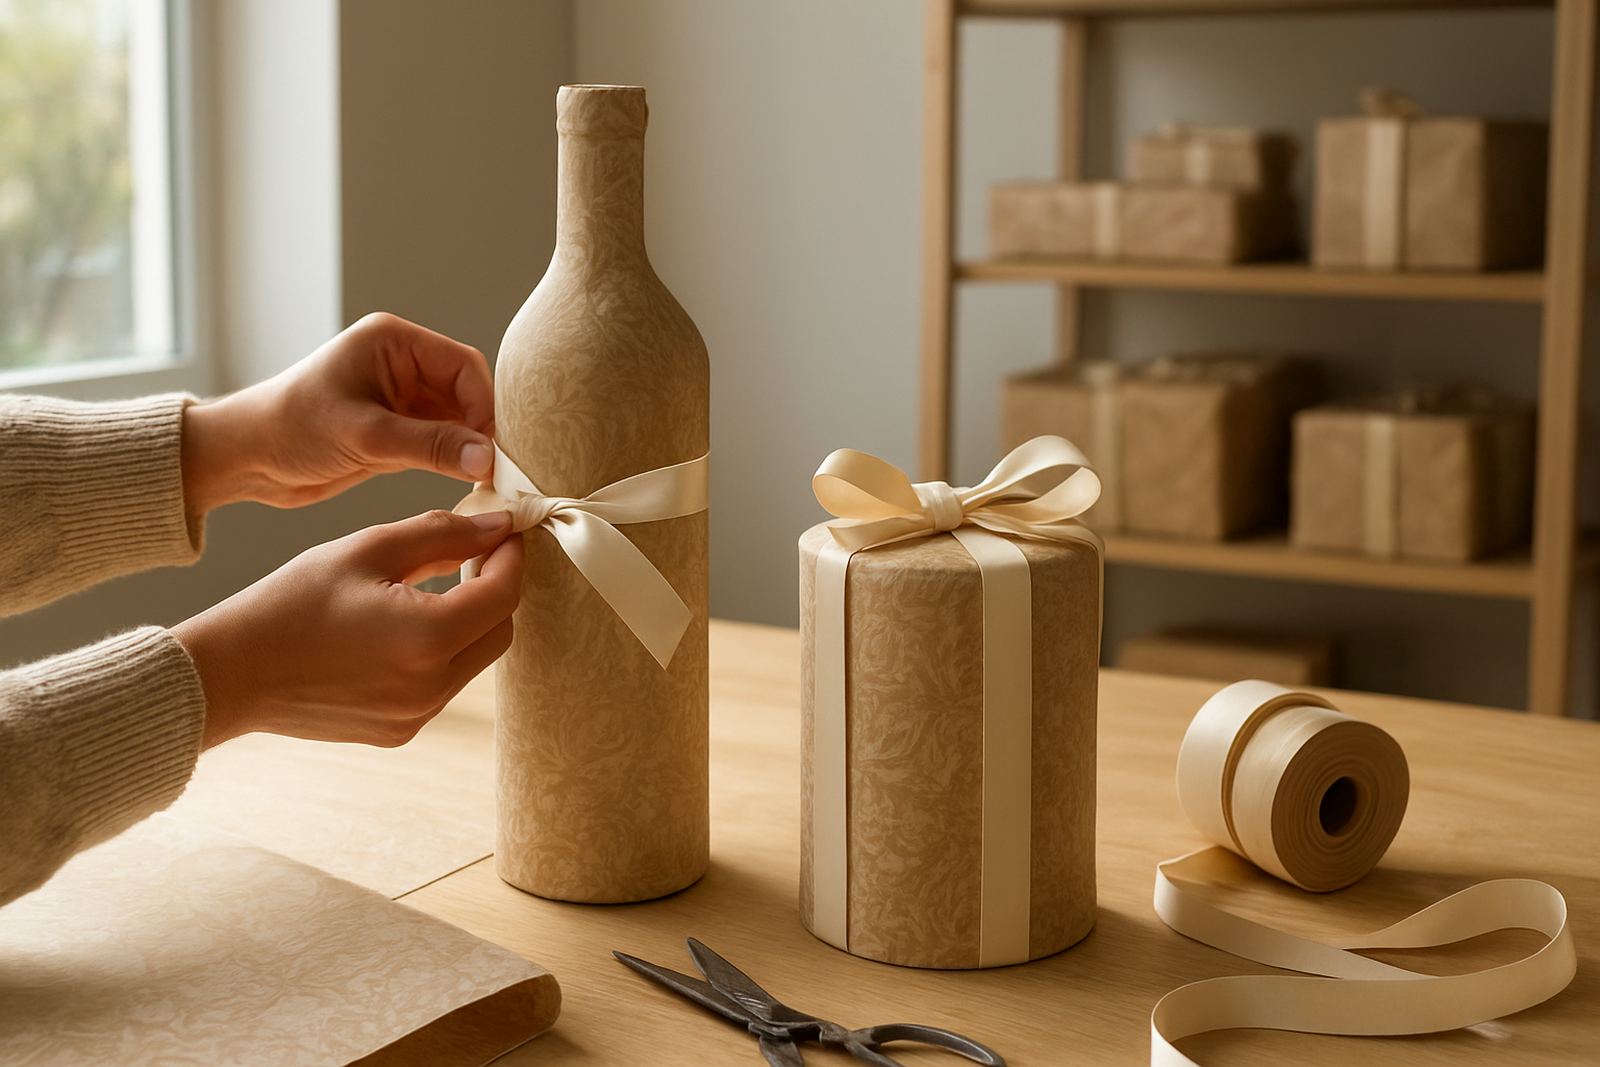
Bottles are easier when you treat the neck as a separate section. Stand the bottle in the centre of the paper, pull the paper up evenly on both sides, then twist or pleat the top section rather than forcing a sharp fold. This helps with wine bottles, olive oil bottles and tall gift bottles that have narrow shoulders.
- Cut the paper wide enough to cover the full body with a 5 to 8 cm overlap.
- Use clear tape on the back seam only so the front stays neat.
- Gather the paper above the shoulders and secure with ribbon, string or a band.
- Check that the base sits flat so the bottle does not wobble in transit.
If the bottle has a curved shoulder, make small diagonal snips into the excess paper at the top. Do not cut too deep. A few careful snips will let the paper lie flatter and stop those awkward lumps that show through the finish.
Candles Need Protection as Much as Presentation
Candles scratch easily and can soften in heat, especially during a Sandton delivery in summer or a coastal run to Durban. Wrap them in tissue first if the surface is smooth or decorated, then add your final paper layer. This keeps the finish clean and prevents marks from tape or rough handling.
For pillar candles, place the gift on a sheet of paper and roll it like a log. Fold in the ends like a sweet wrapper, then secure with ribbon. For boxed candles, keep the corners crisp and avoid over pulling the paper because corners can split under pressure. The goal is neat enough for a gifting tray yet quick enough for bulk packing.
- Use tissue first for painted, printed or scented candles.
- Keep tape off the candle itself, only tape paper to paper.
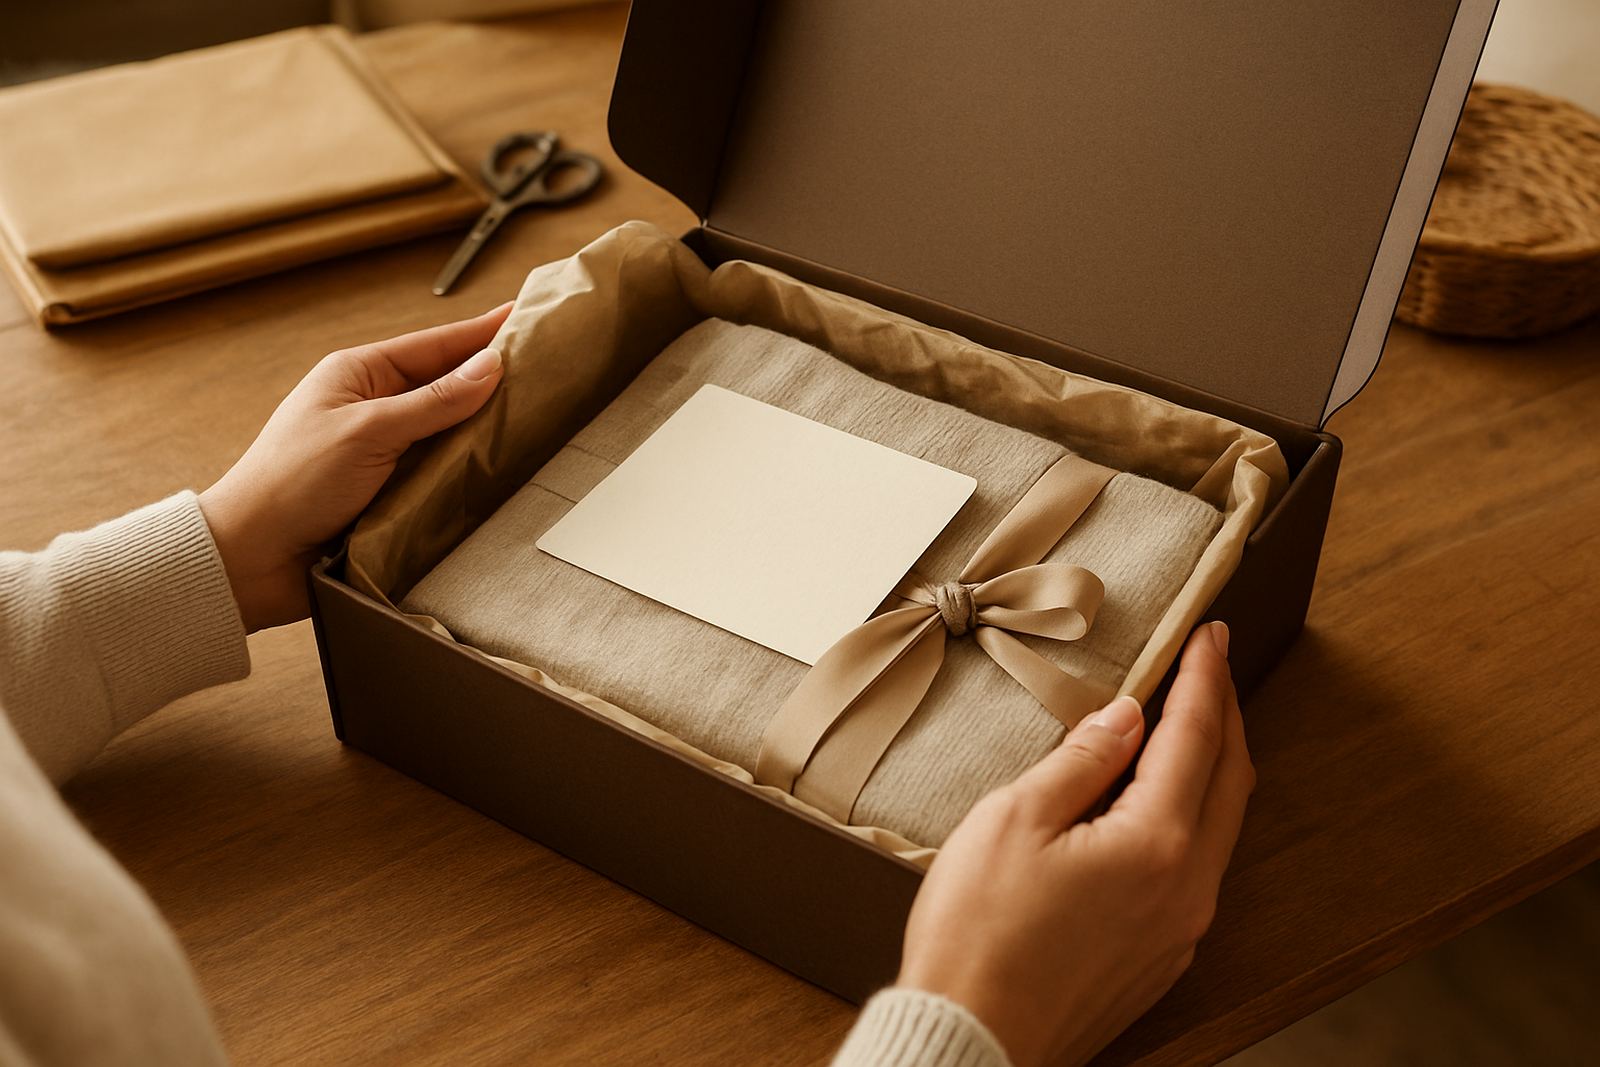
- Add a note card on top if the candle is going into a hamper.
- Store wrapped candles out of direct sun until collection or delivery.
Use Boxes and Sleeves for Very Awkward Shapes
Not every item should be wrapped directly. If the shape is too irregular, place it in a snug box, rigid sleeve or hamper tray first, then wrap that outer layer. This works well for mugs, ceramic items, candles with accessories and mixed gifting sets. It also makes packing faster when there are 20 or 50 units to prepare.
A good rule is this: if the item rolls, tilts or has parts that stick out, box it first. Use crumpled tissue, shredded paper or plain fill to stop movement inside the box. Once the inner item is secure, the outer wrap only has to look good. That saves time and keeps breakages down, which matters for corporate gifting and event setups where there is no room for rework.
Finish With Ribbon, Tags and a Firm Hold
The finish is where a simple wrap starts looking polished. For bottles, a ribbon tied around the neck gives a clean line. For candles and slim items, a cross ribbon can keep the paper closed without needing too many tape points. If the gift note is personal, tuck it under the ribbon so it stays with the item and does not slide off in transit.
Keep the finishing tight but not strained. If the ribbon pulls the paper out of shape, loosen it slightly and re-centre the fold. A good wrap should feel secure in the hand and still open easily for the recipient. That balance matters for weddings, client packs and year-end gifting where presentation counts but speed matters too.
Quick Checklist for Wrapping Odd Shapes Well
Use this checklist before you start a batch. It helps keep the standard even if you are wrapping one item or a full order for a boardroom drop-off in Rosebank or a collection point in Umhlanga.
- Measure the height, width and widest point of the item.
- Choose paper or tissue that suits the surface and weight.
- Decide where the seam will sit before you cut.
- Protect fragile finishes with tissue, sleeves or a box.
- Keep tape small and hidden.
- Finish with ribbon, label or gift note for a tidy close.
If you are handling mixed items for a hamper or event, wrap the hardest shapes first. That way you can adjust the paper style and ribbon width before you start the larger batch. It saves time and keeps the whole order looking consistent, even when the items are not.